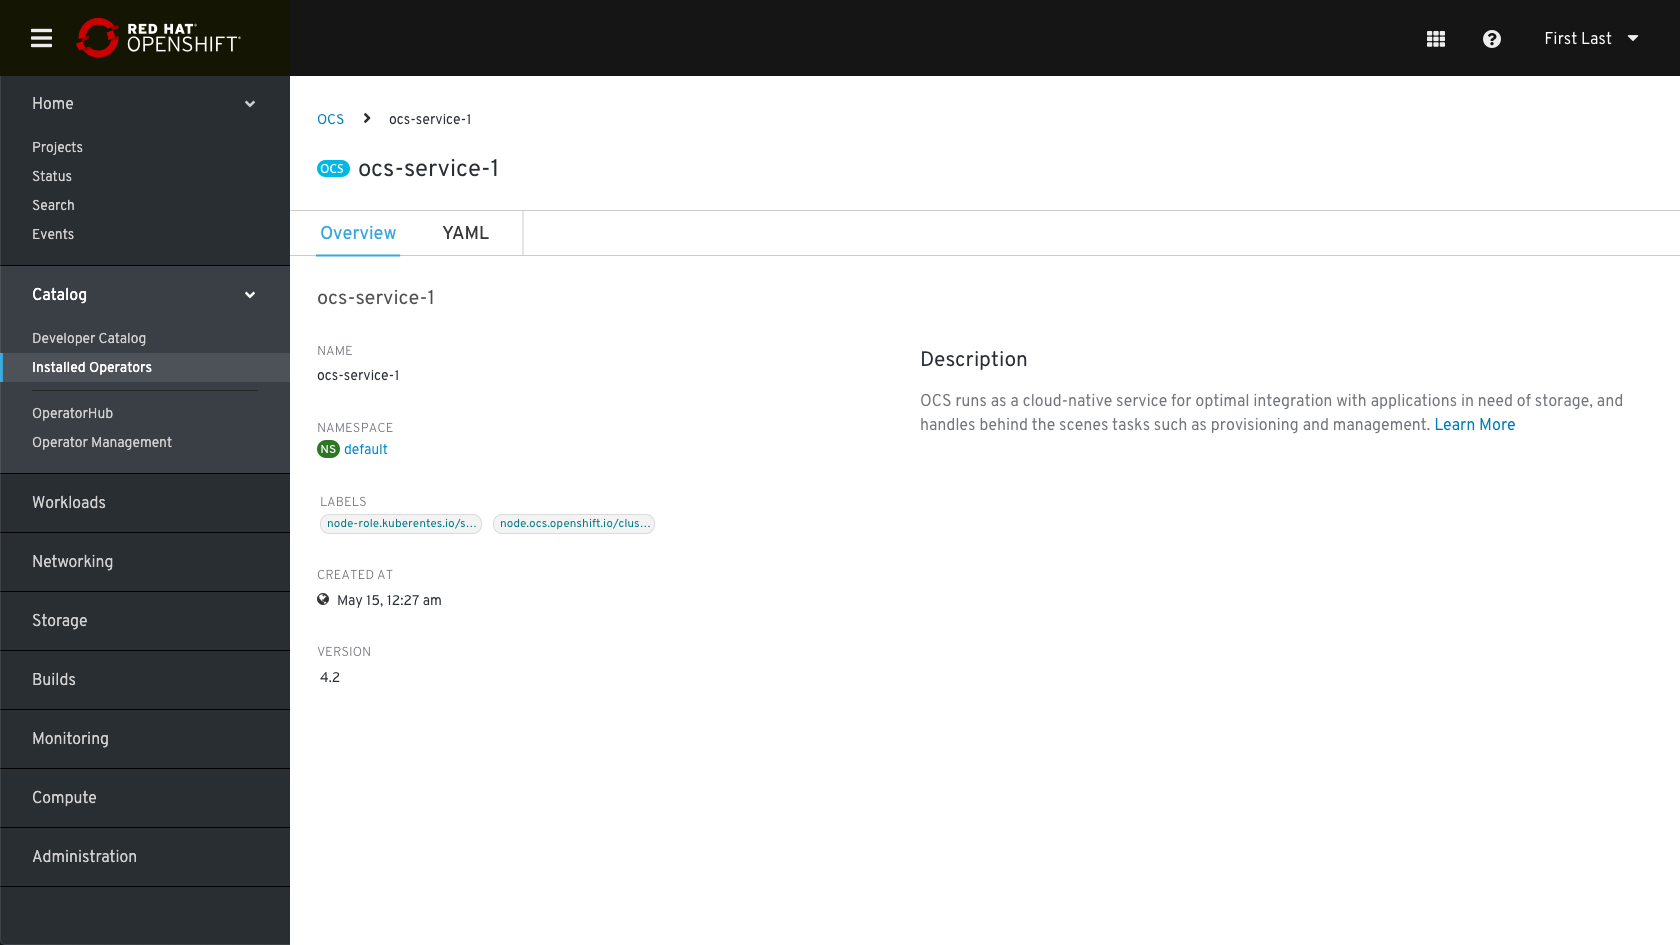
OCS Install Workflow
OperatorHub
There will be 2 OCS operator entries in OperatorHub covering each of the following modes.
- Converged Mode – Local Cluster / Hyperconverged
- Independent Mode – External Cluster (OCS Cluster is deployed externally)
Converged Mode Design
OperatorHub 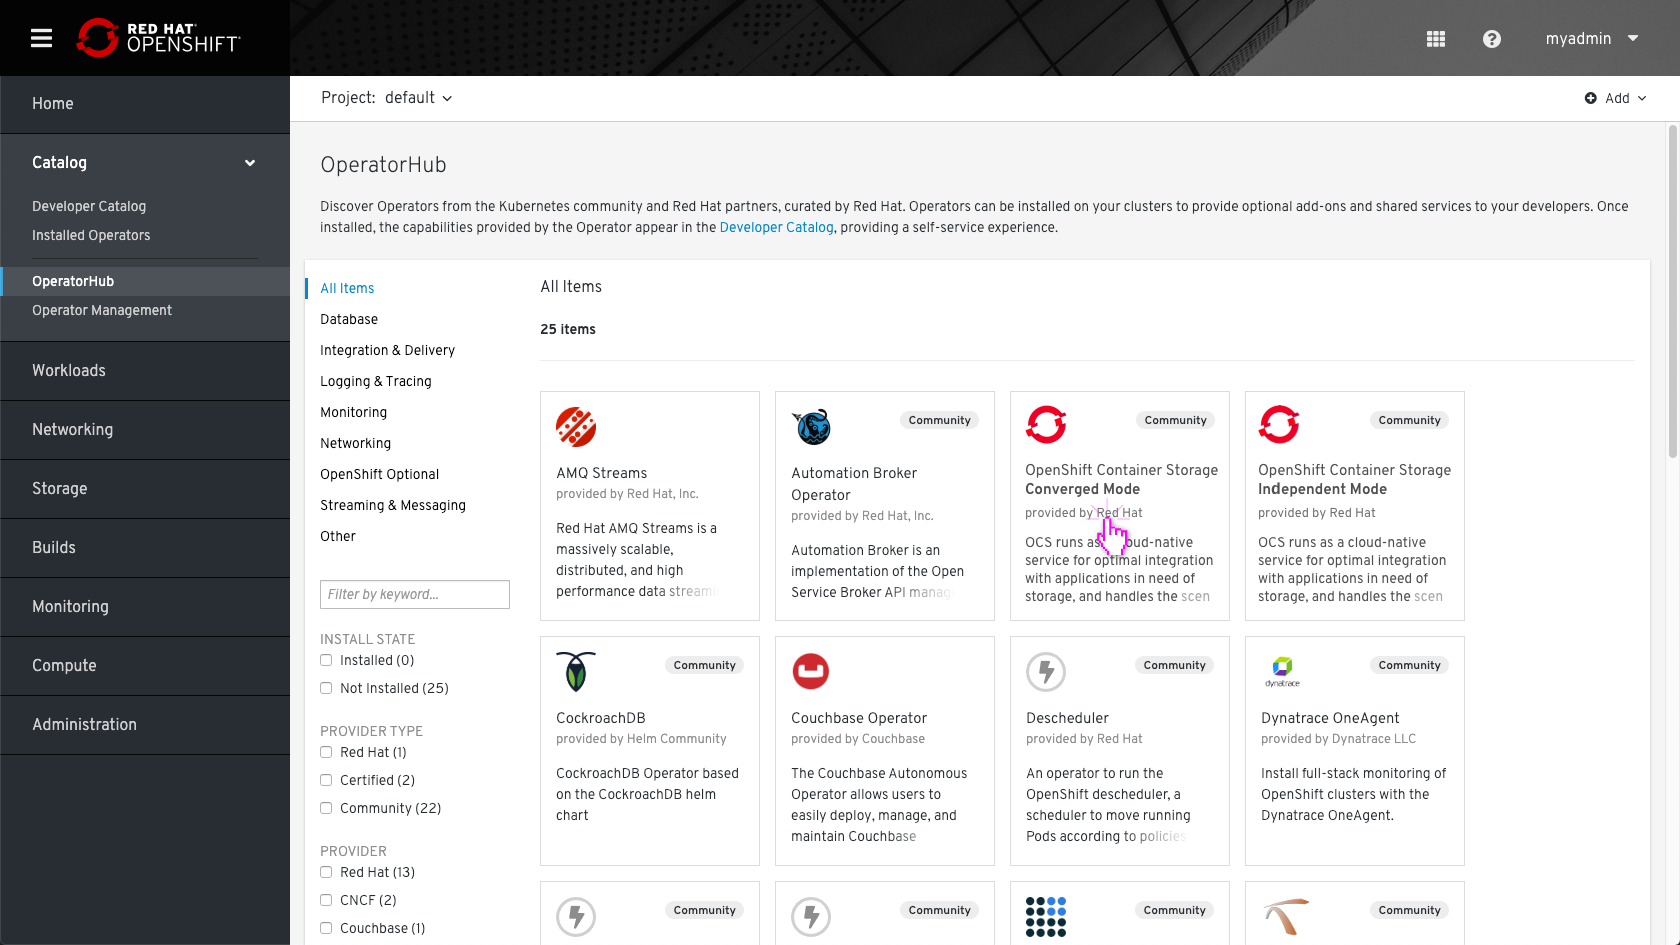
Installation 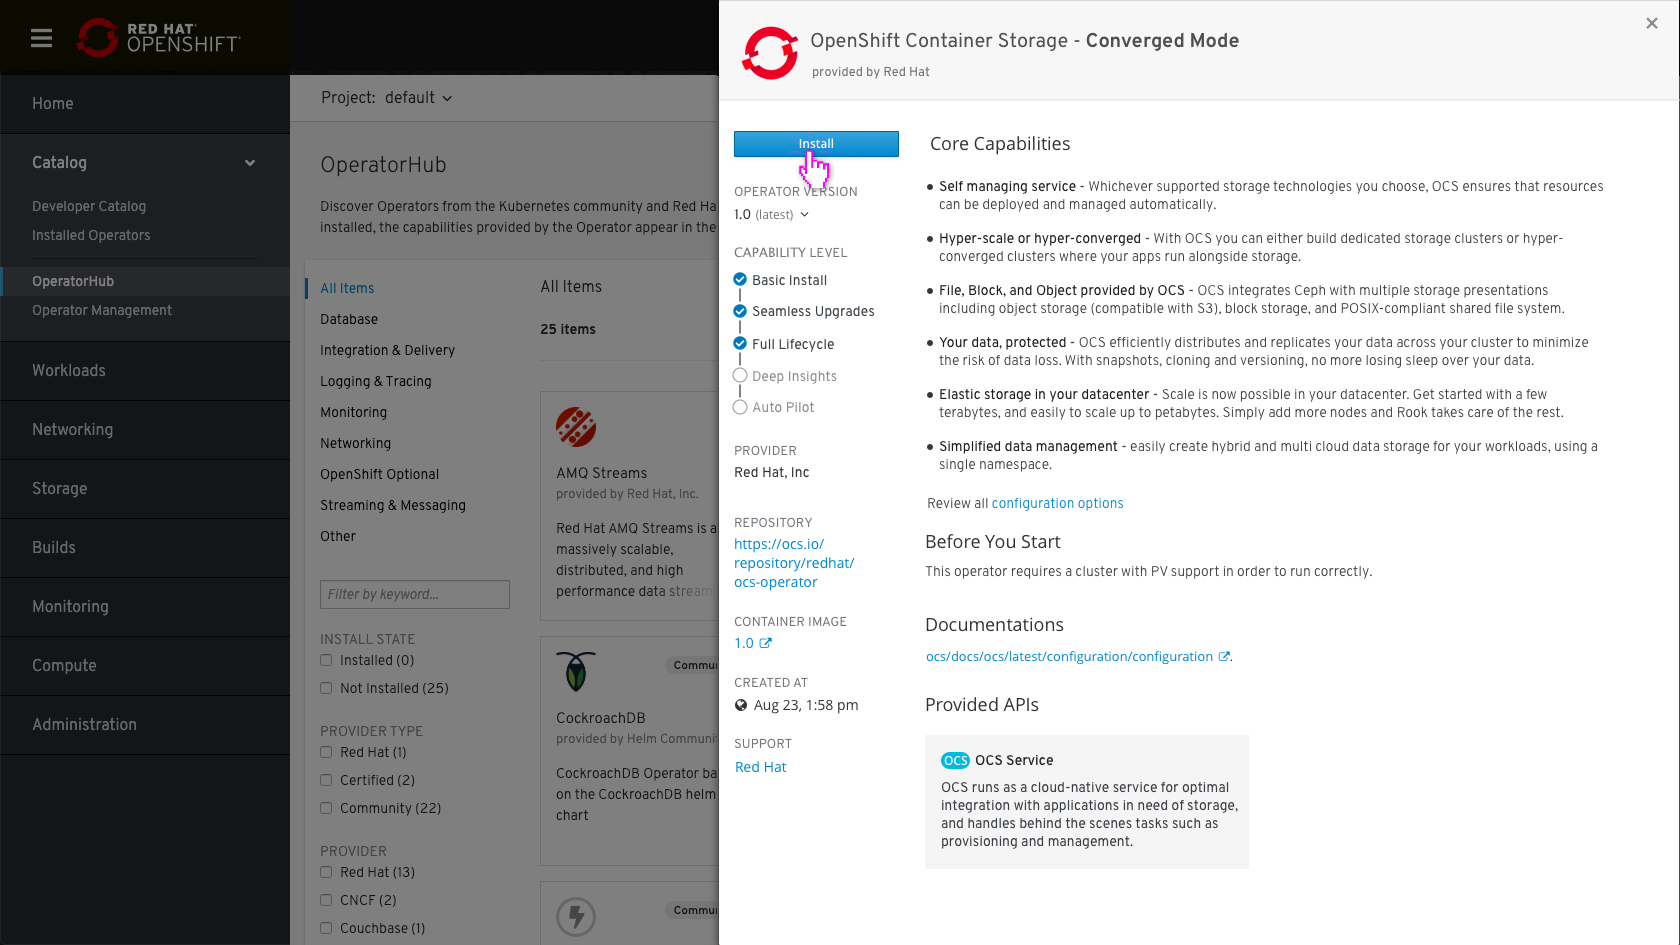
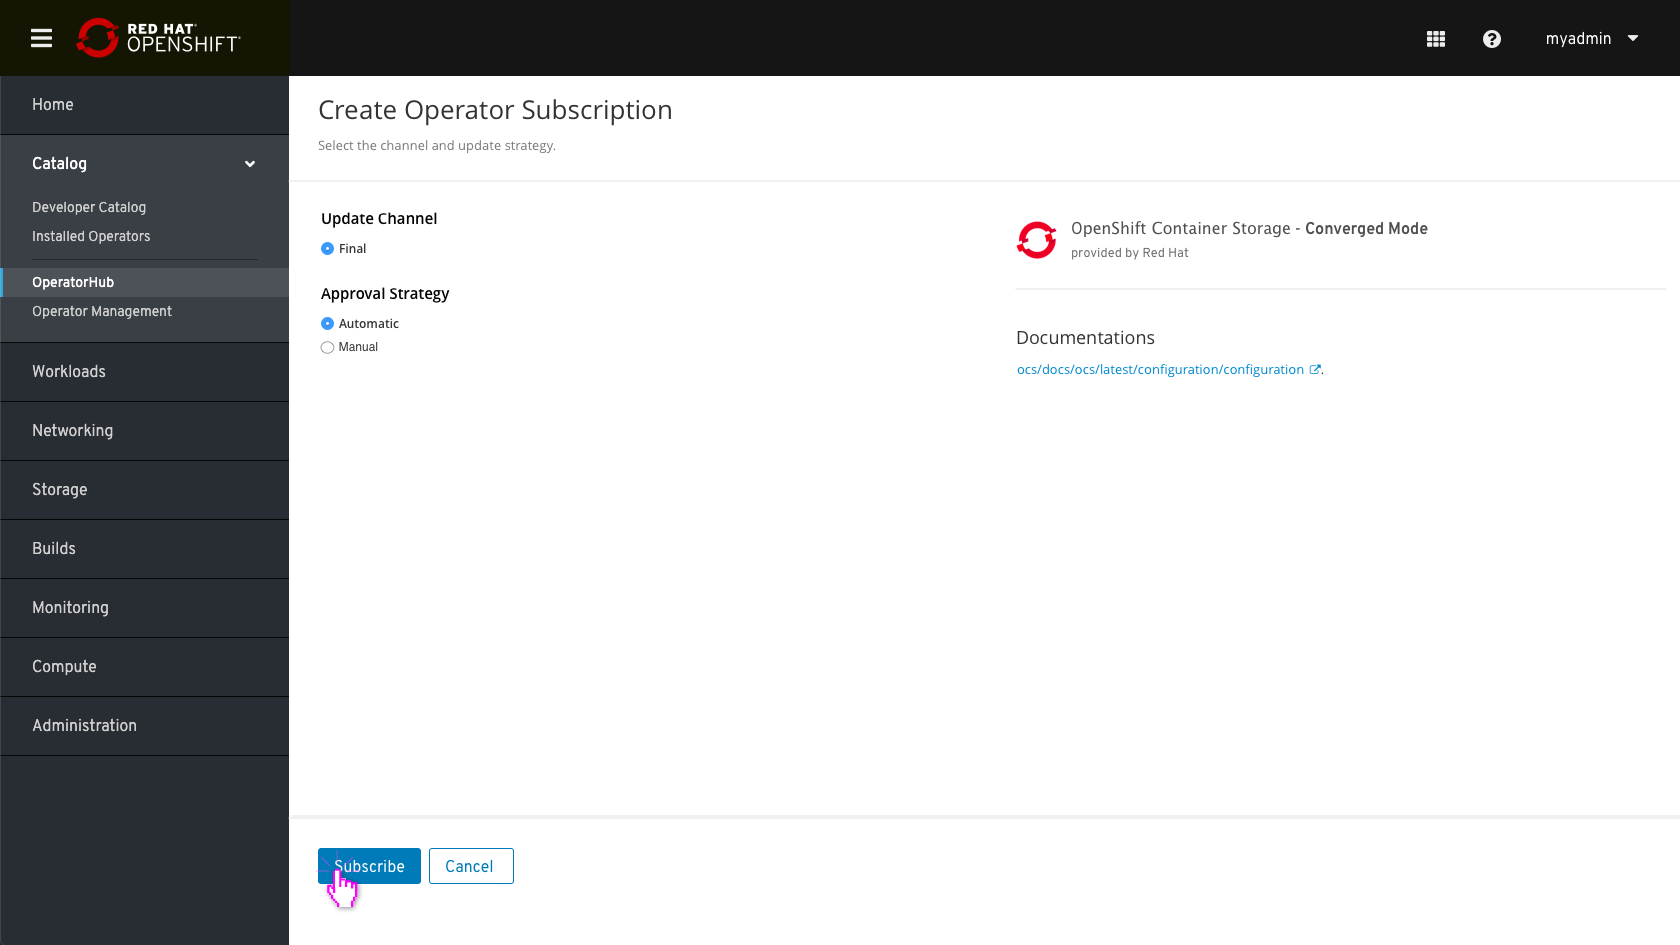
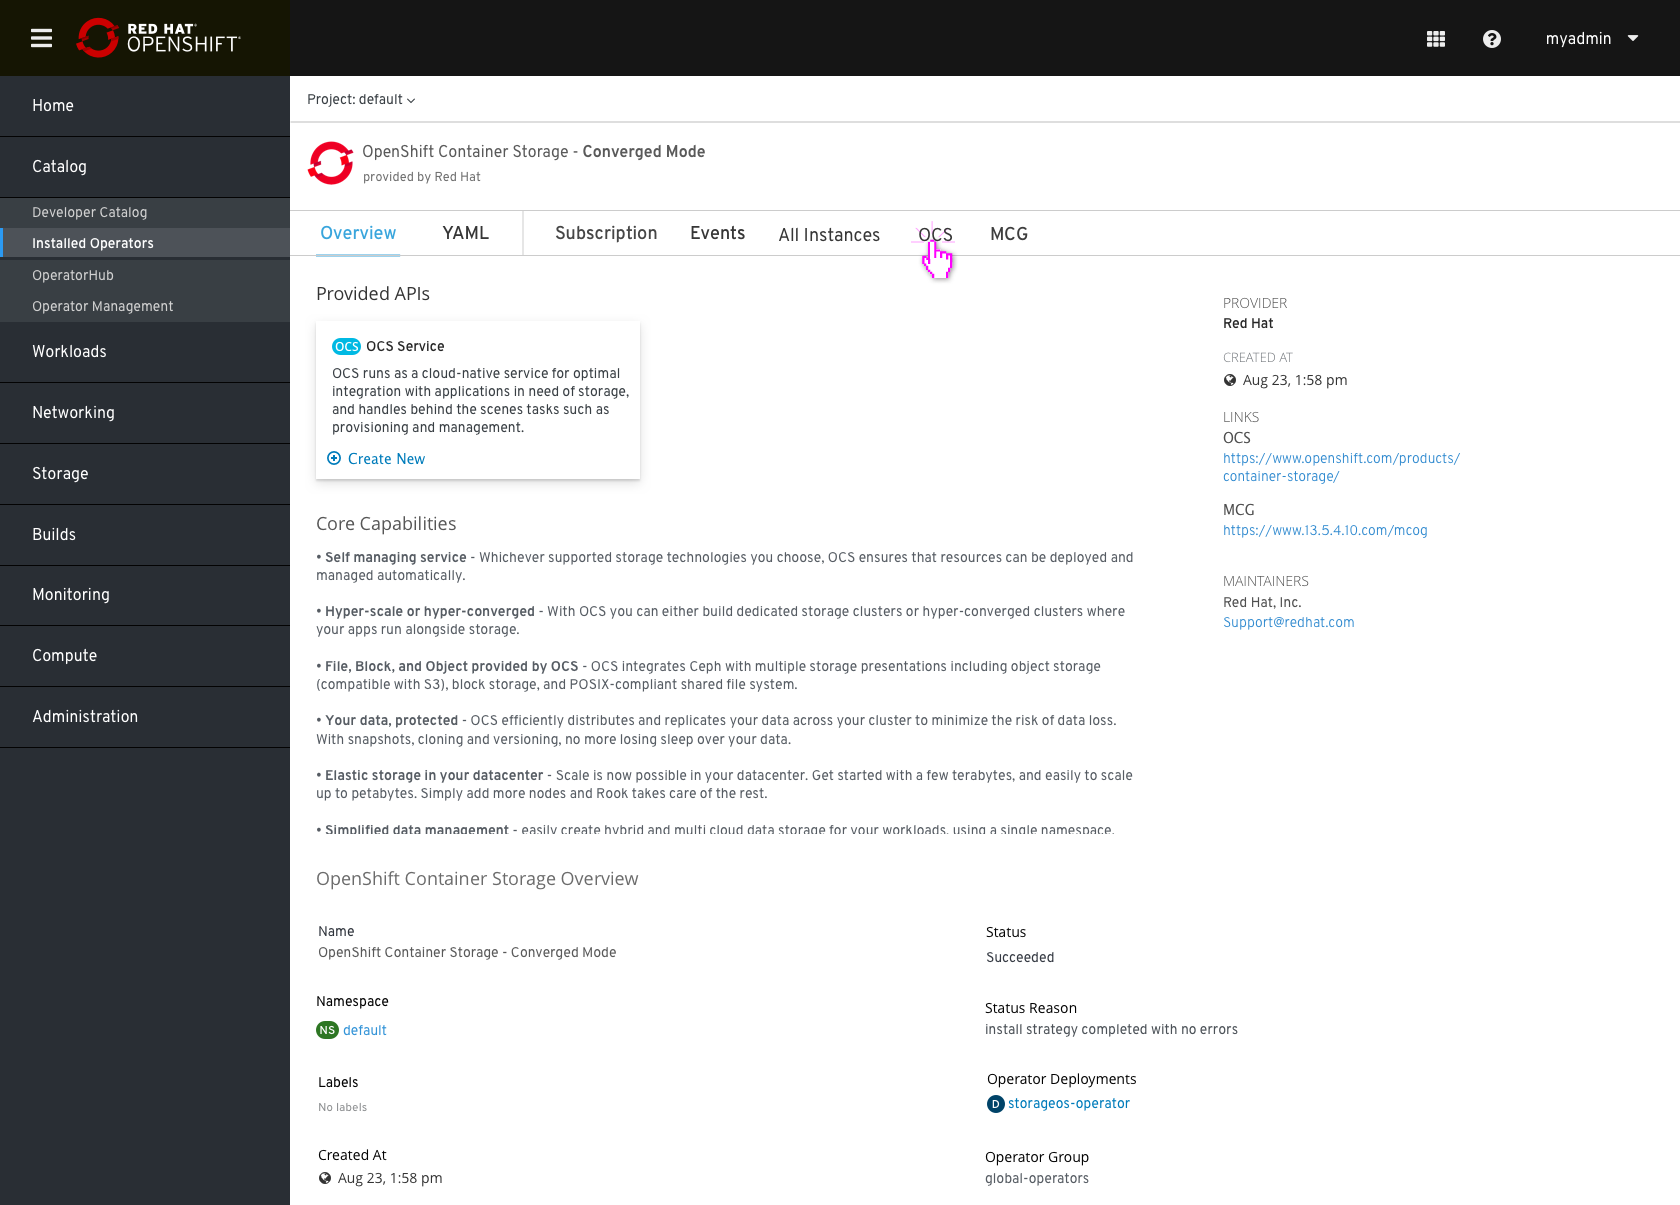
In the installed operator view the user can see the OCS operator installed. 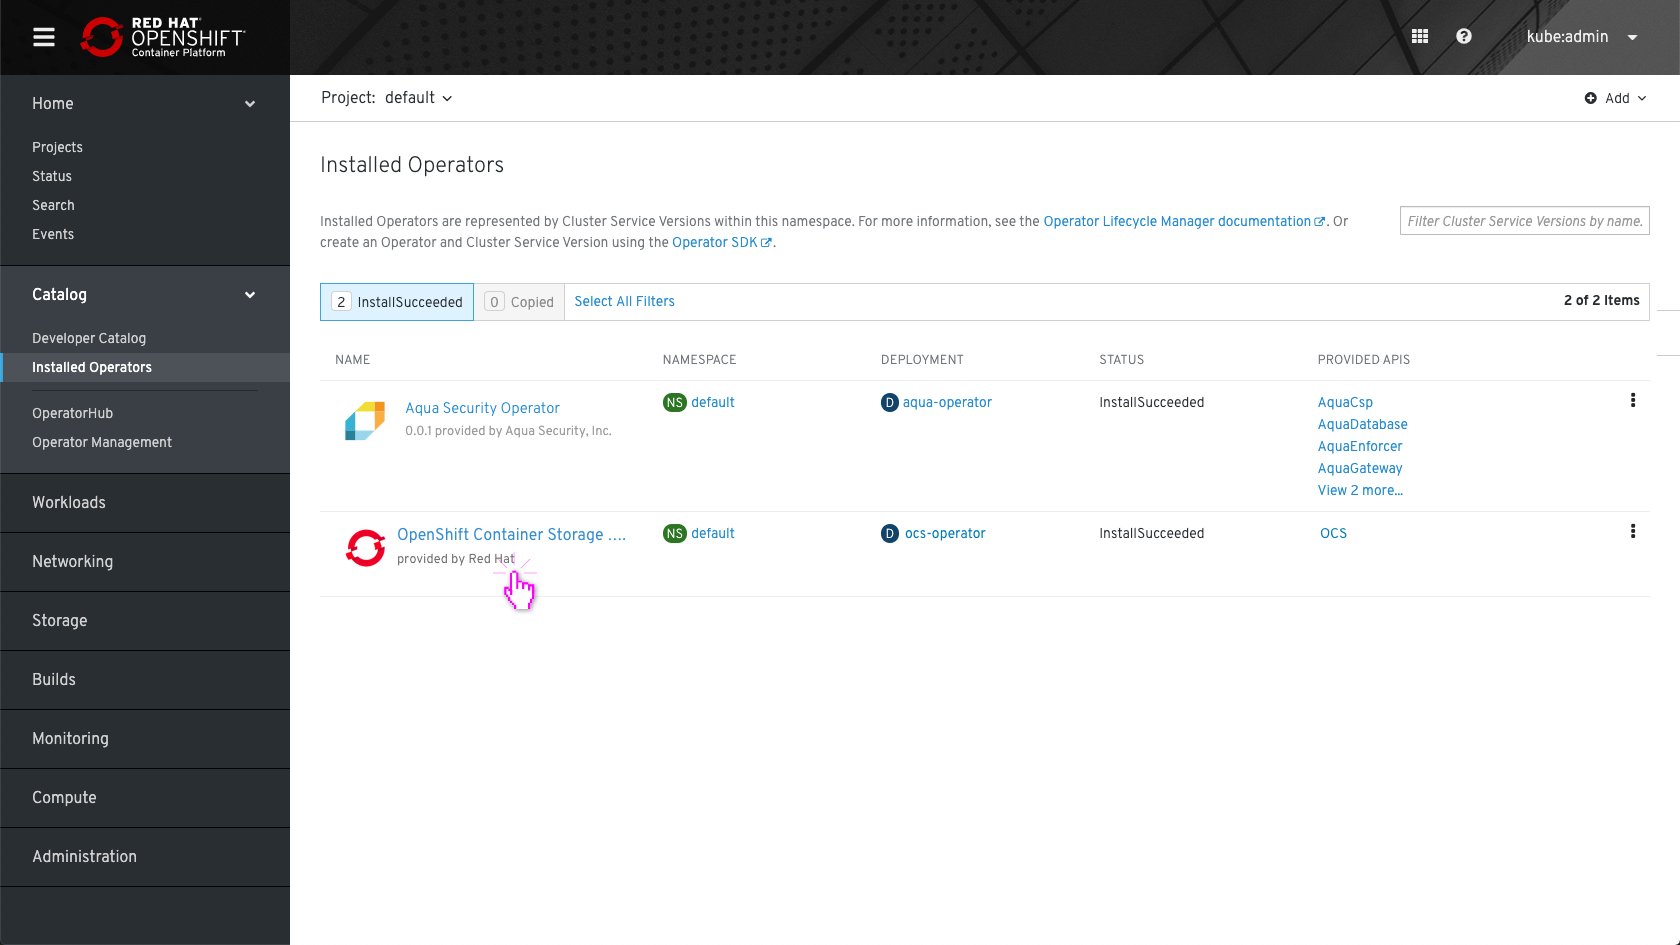
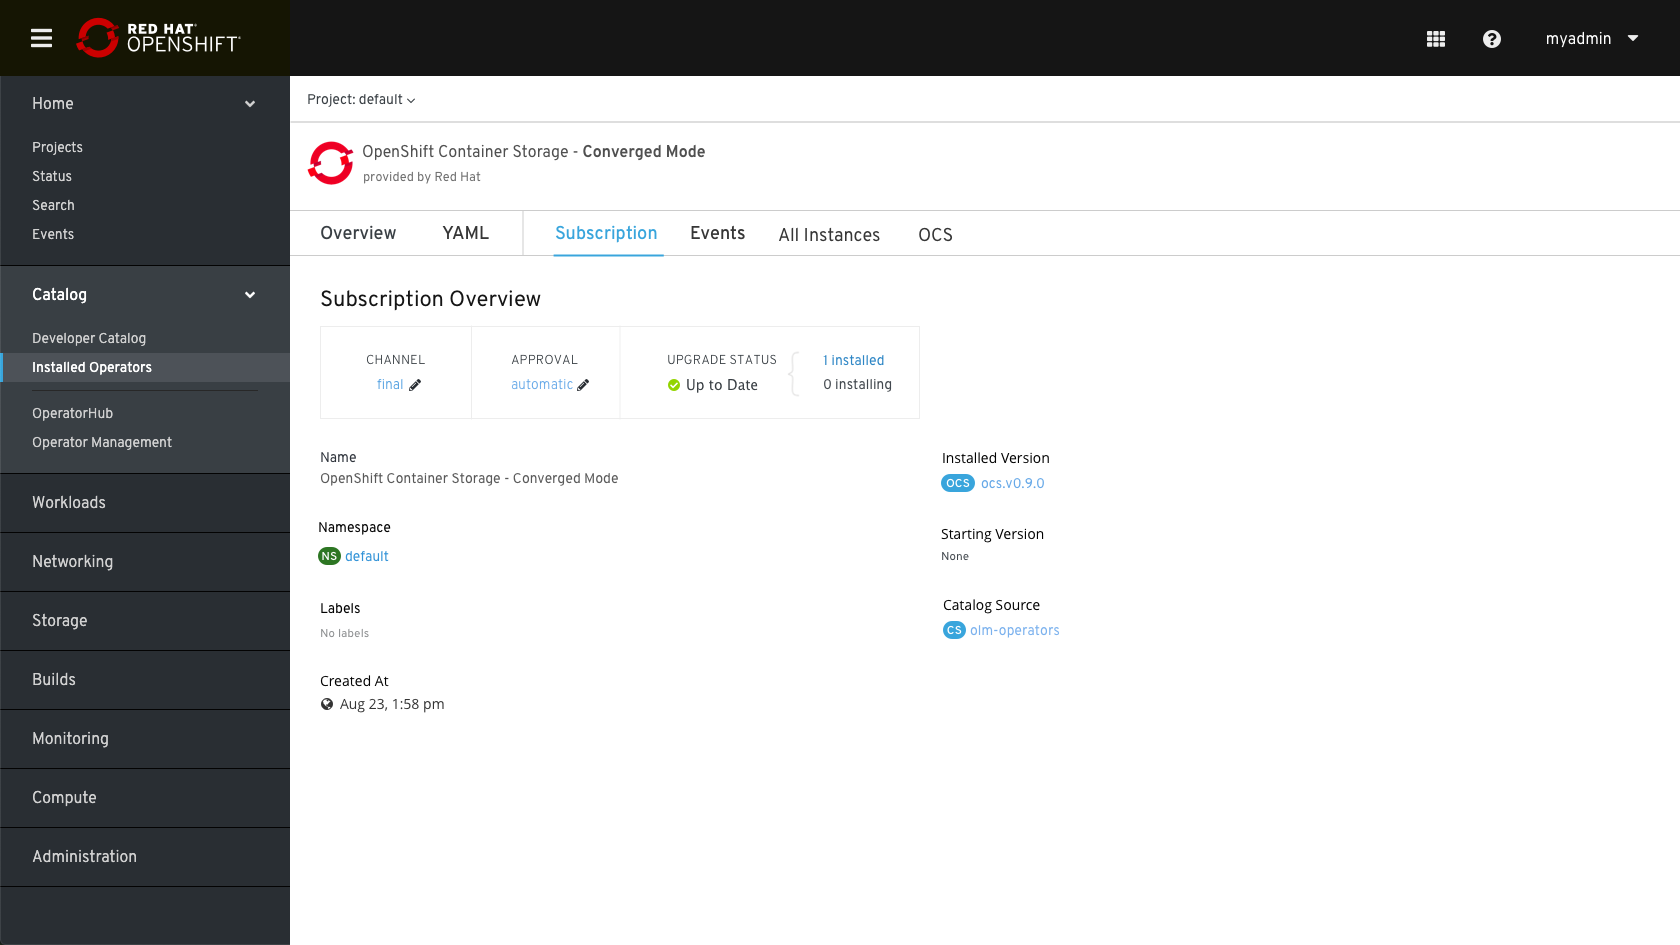
The OCS installation process
OCS Overview page 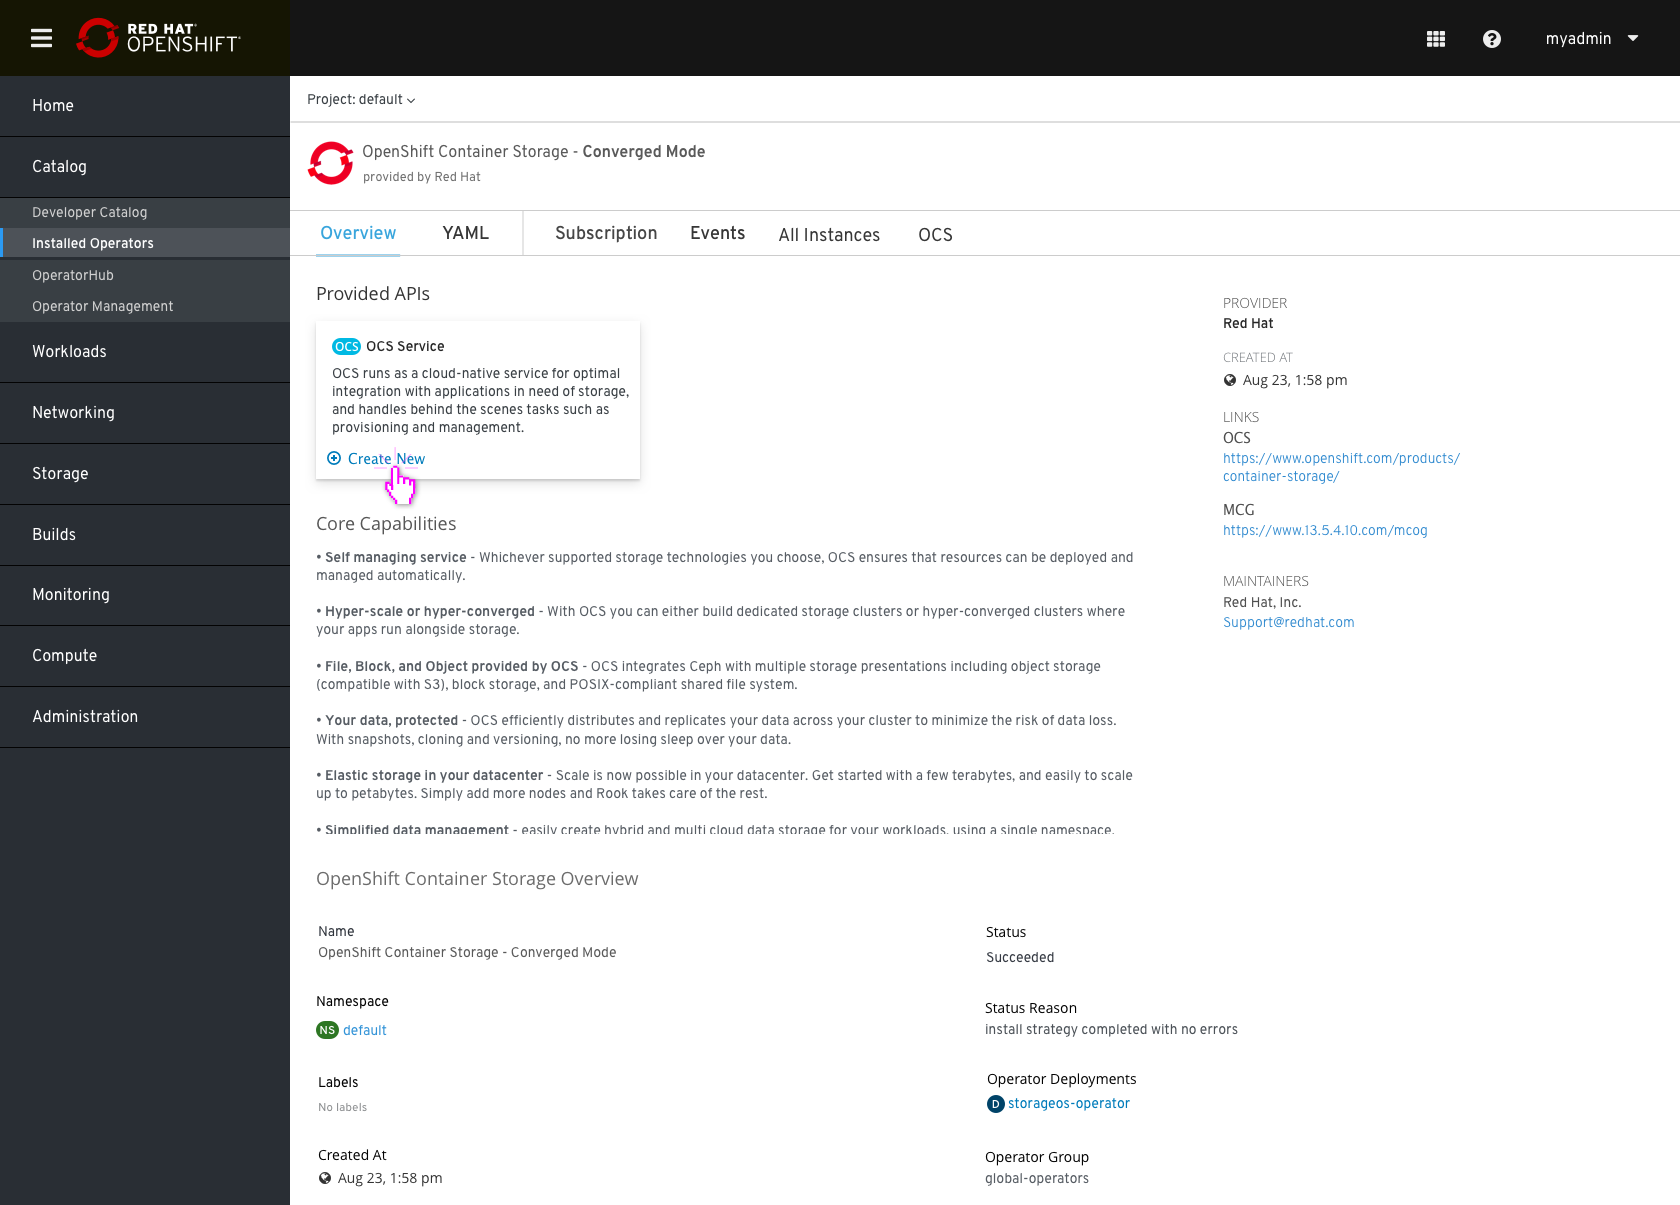
Clicking on “create new” (OCS Service) Will start the following installation flow:
Same flow will be available by clicking on the OCS tab and “Create new” button.
Select Nodes
Admin needs to select at least 3 nodes (depends on the requested capacity input) to label with “cluster.ocs.openshift.io/openshift-storage=”“” (note label is subject to change as this will be automatically configured by the OCS installer) to be used for the OCS cluster.
- Admin may need to filter the list of nodes in order to make the selection (i.e. nodes that contain storage already), e.g. Select/unselect all nodes, and exclude master nodes (e.g. based on roles)
- Non-master nodes of a certain flavor (CPU and memory)
- Nodes with a certain name prefix or string within the node name
Defer from 4.2:
- Capacity will default to 1 TiB, and user cannot modify value to be less than 1 TiB. Only TiB, PiB, and units above TiB supported. GiB and MiB are not permitted.
- Number of nodes depends on the requested capacity input. If requested capacity is > 5 TiB, then Additional nodes must be added.
- Storage class will default to the default storage class, but user can overwrite the selection. Note: The storage classes shown will be pre-filtered to the storage classes backed by the infrastructure supported provisioner(s).
- Storage Class “Info tip” – The Storage Class will be used to request storage from the underlying infrastructure to create the backing persistent volumes that will be used to provide the OpenShift Container Storage (OCS) service.
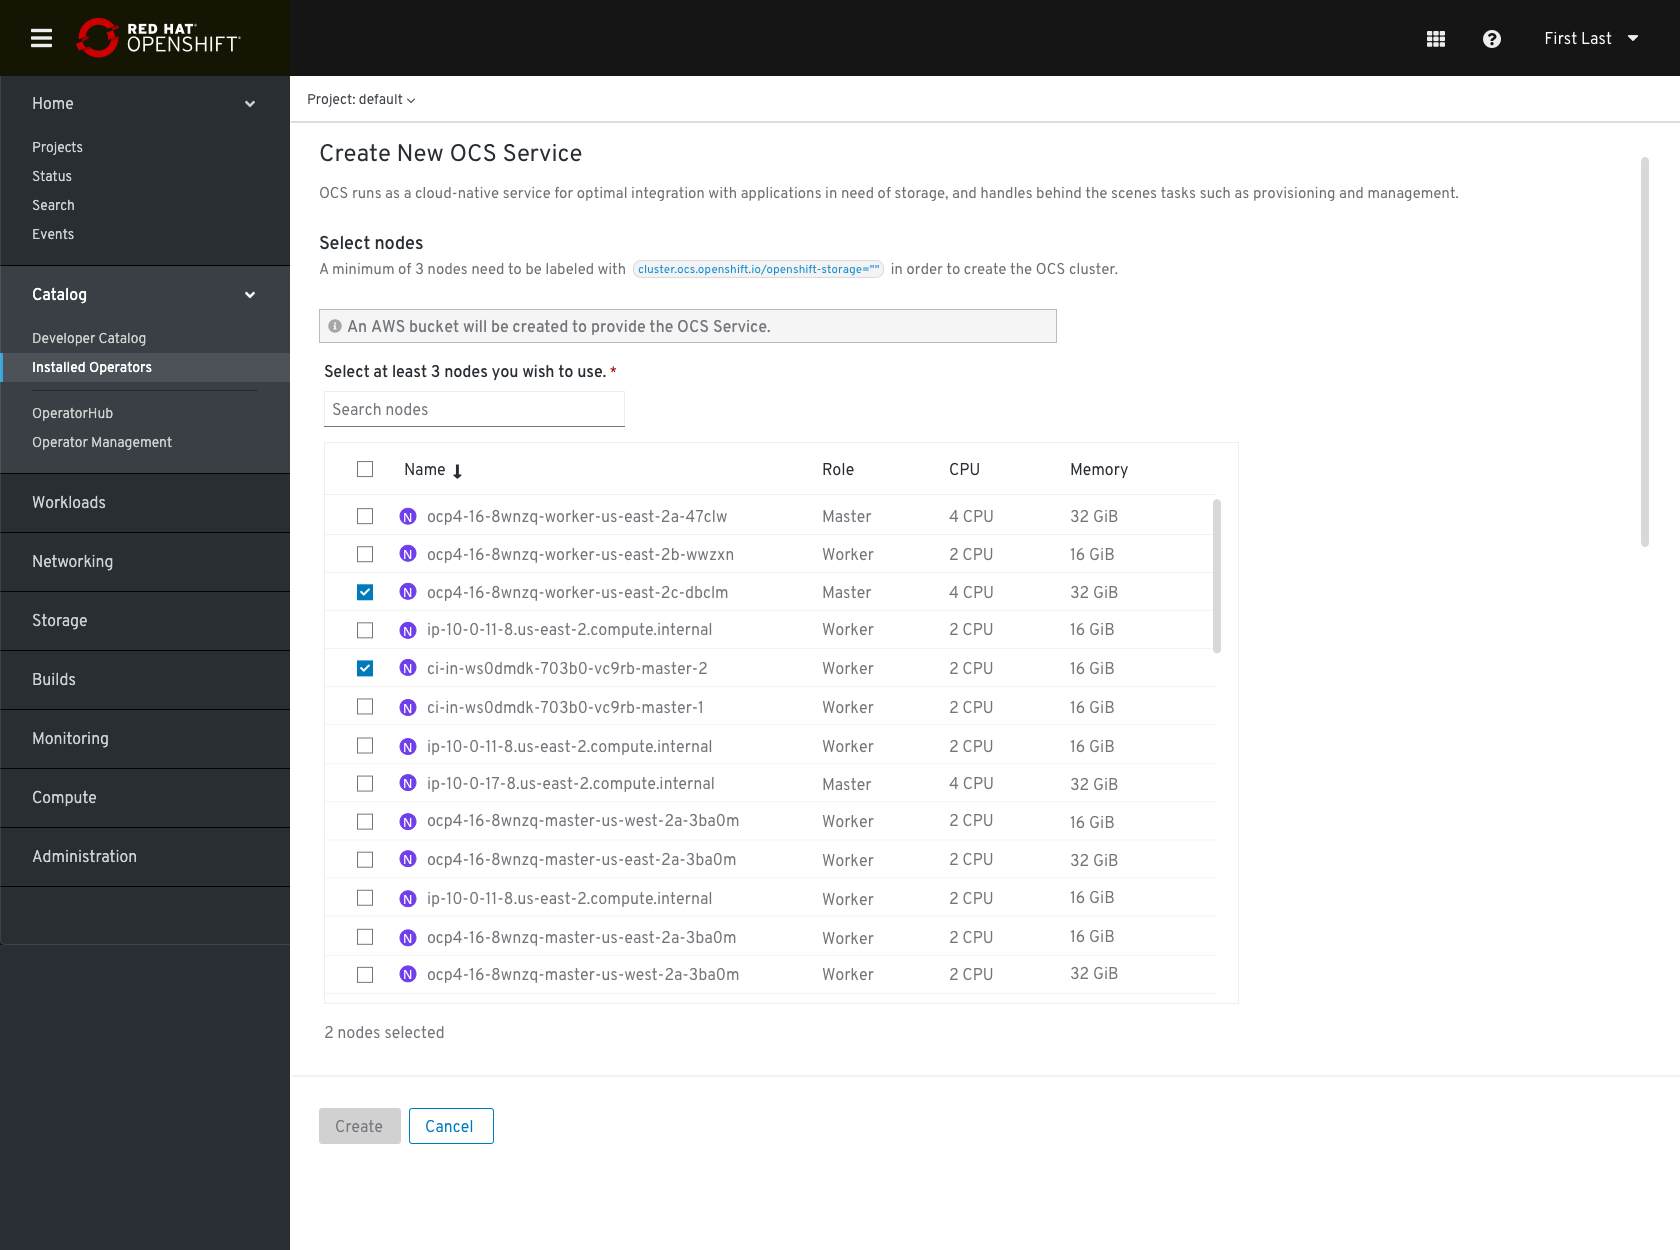
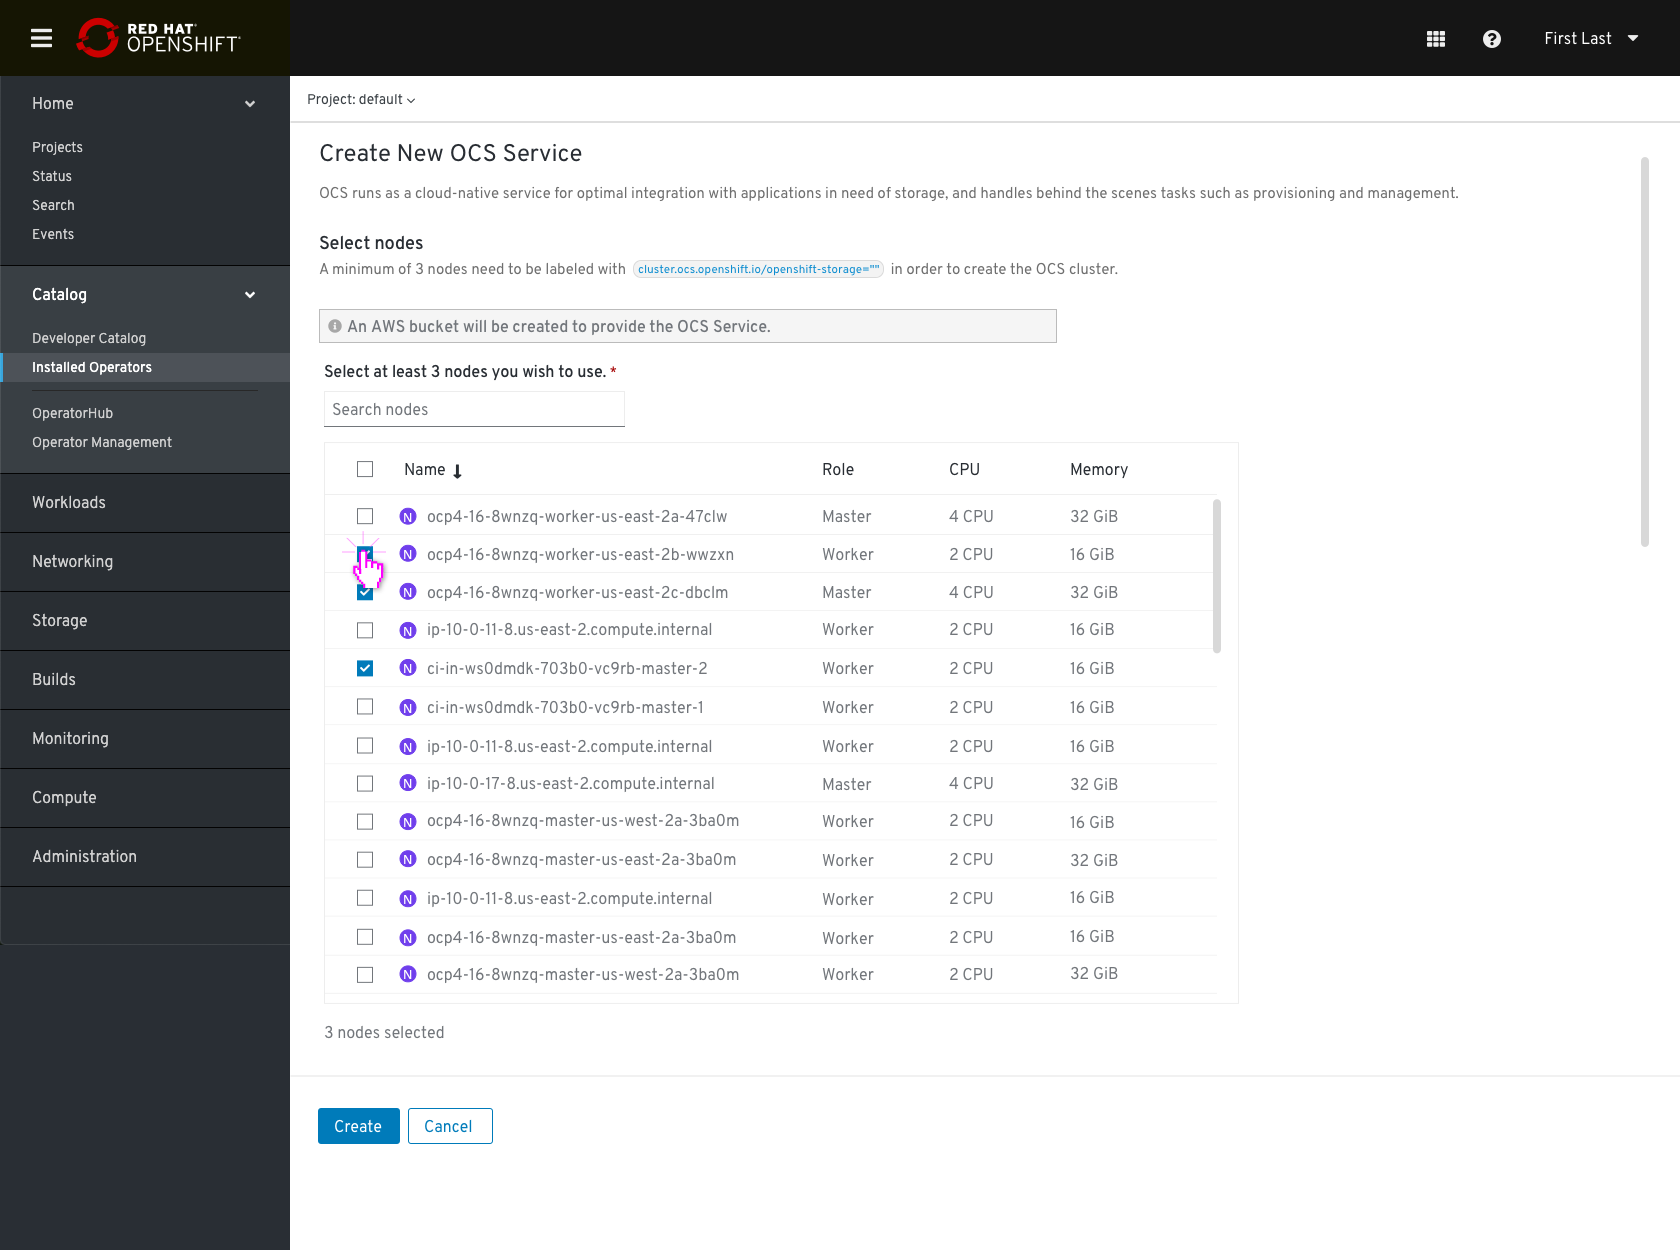
For AWS deployment: A new bucket will be created automatically in AWS S3 connected cloud, in the same region as the OpenShift.
This info note should be added in cloud deployment:
 The provider name should be modified according to the Cloud Credentials operator.
At any point, Admin can switch to YAML by clicking on the “Edit YAML” link in the top right corner. After switching to YAML, the Admin cannot switch back to the form entry.
The “Create” button is only enabled once all mandatory fields have been filled with valid input.
For Non-Cloud Deployments, e.g. VMware or Baremetal
In The case of on-premise the flow remains the same, the info message for creating a bucket in the cloud would be omitted.
After Installation
- OCS Overview
When the creation process starts new rows for “OCS” and “MCG” will be presented in each of the instances tabs. If the deployment process runs for a while, the status “deploying” will be presented (the link is not linkable during the process). 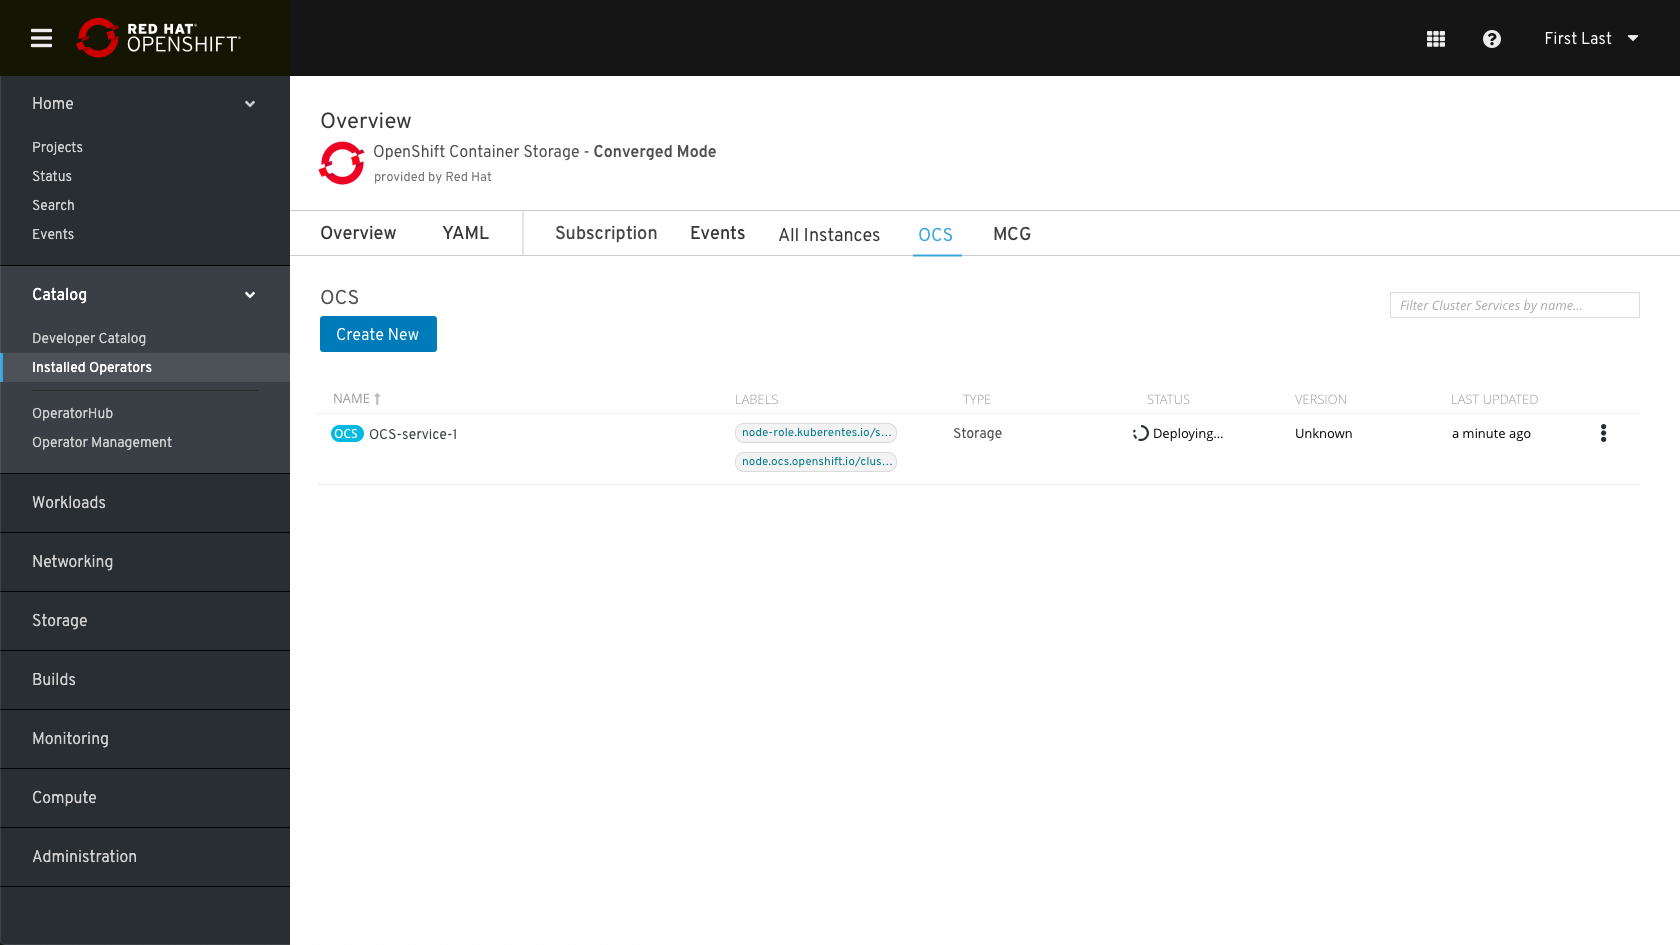
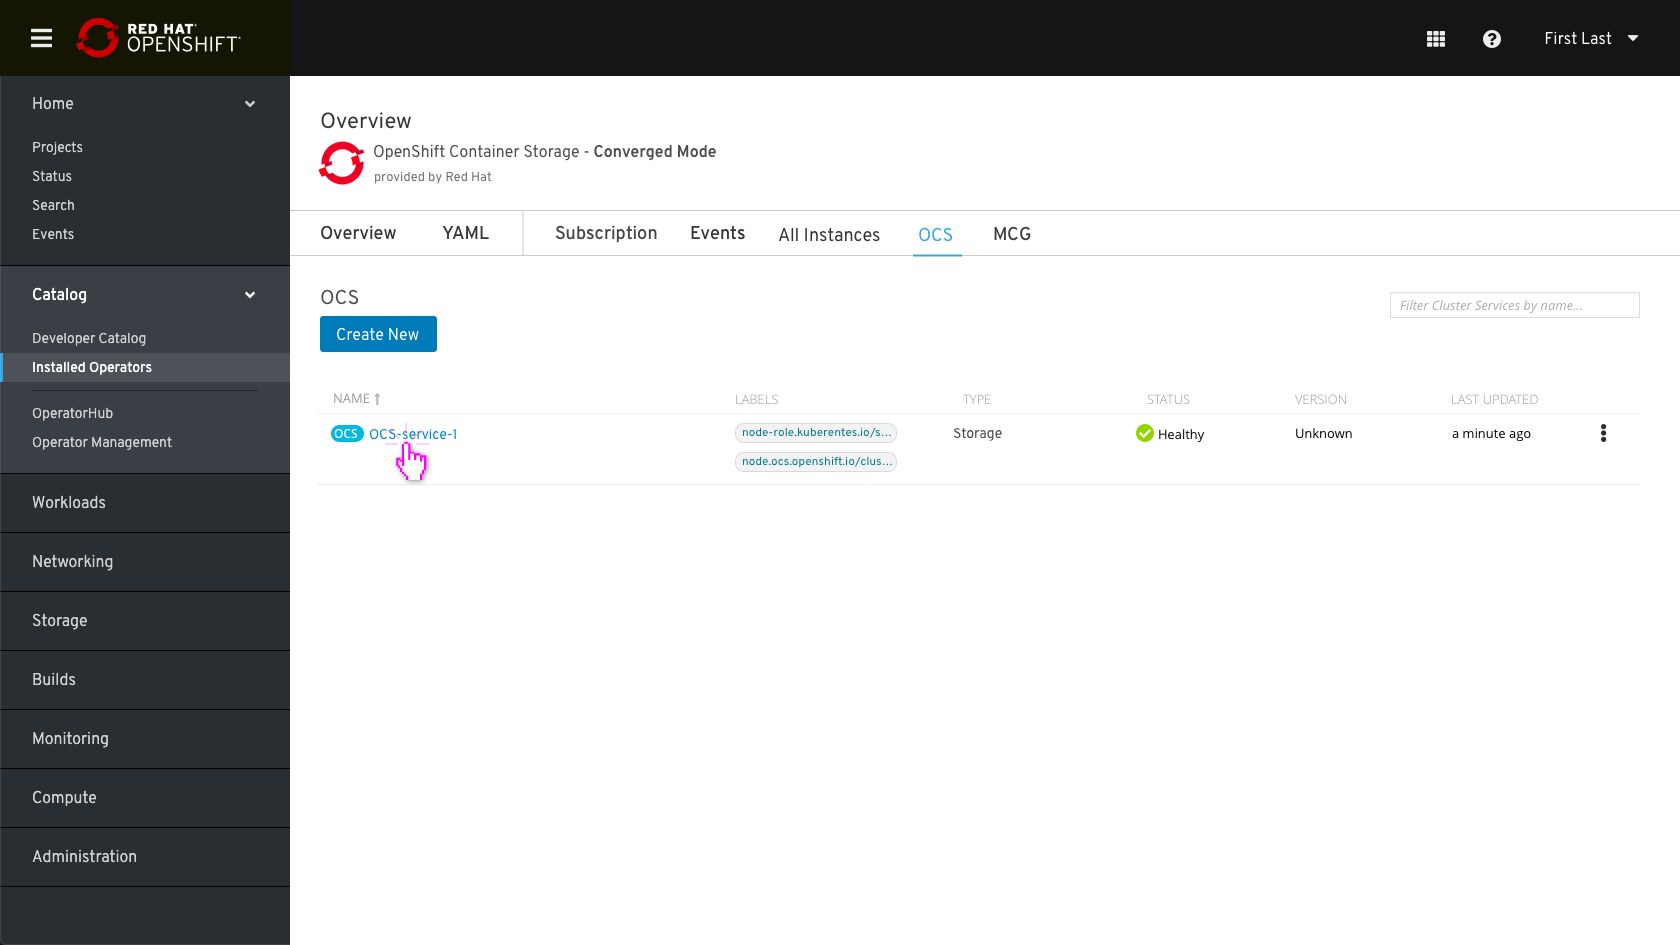
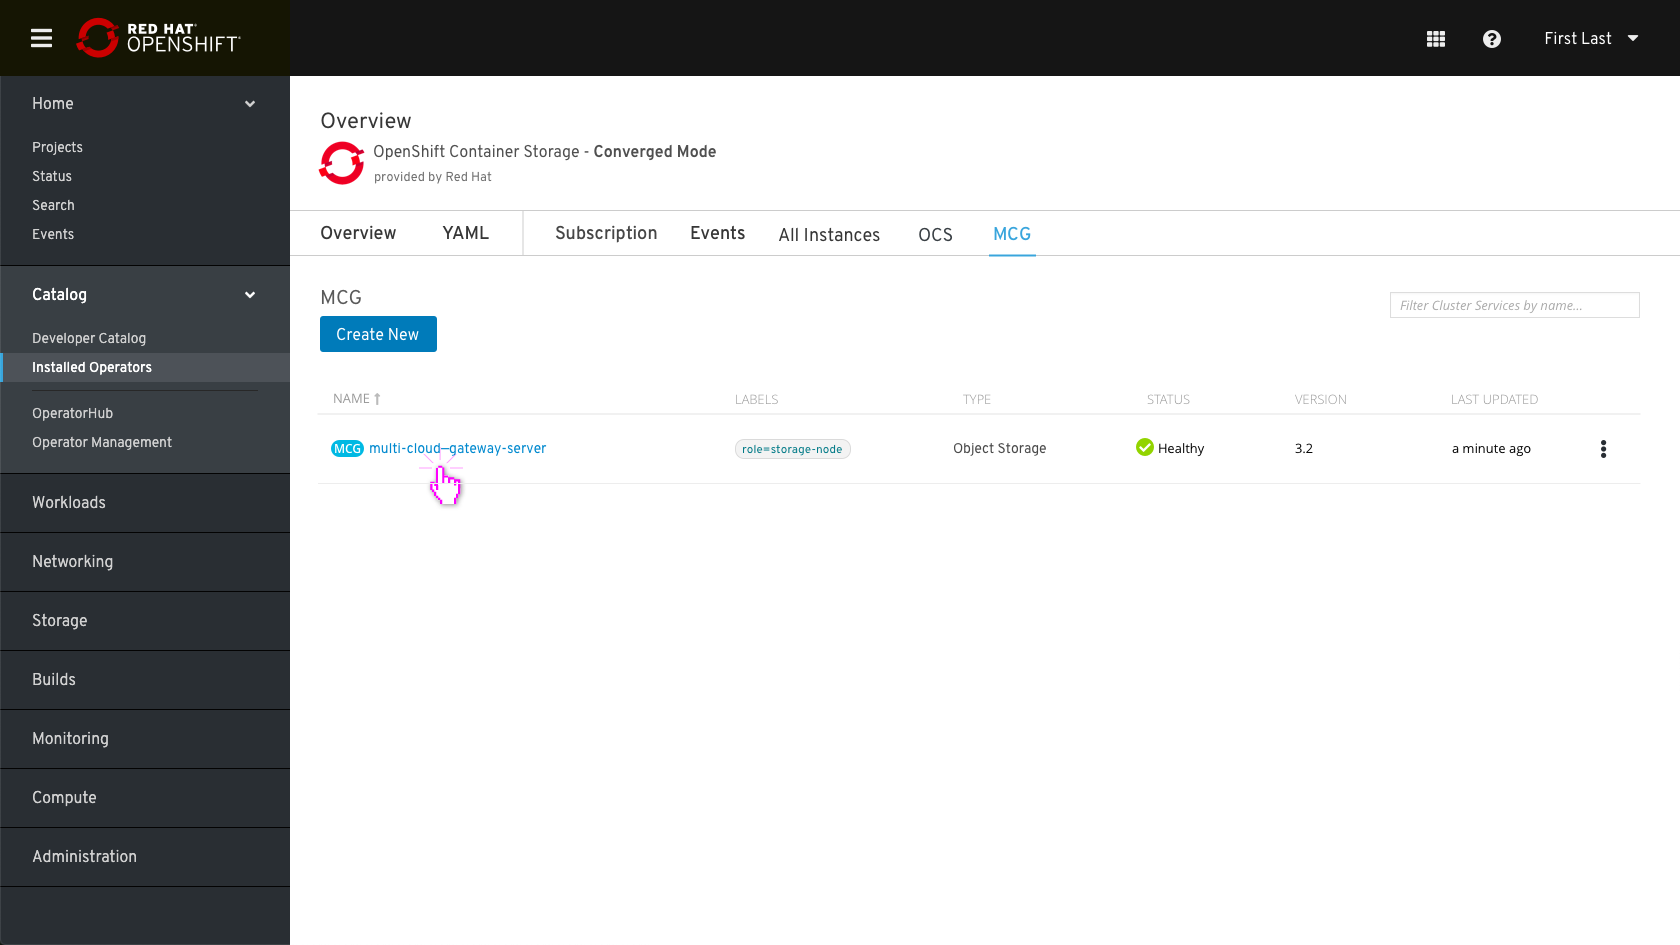
- Clicking on the “Multi Cloud Object Gateway” name will take you to the MCG Overview:
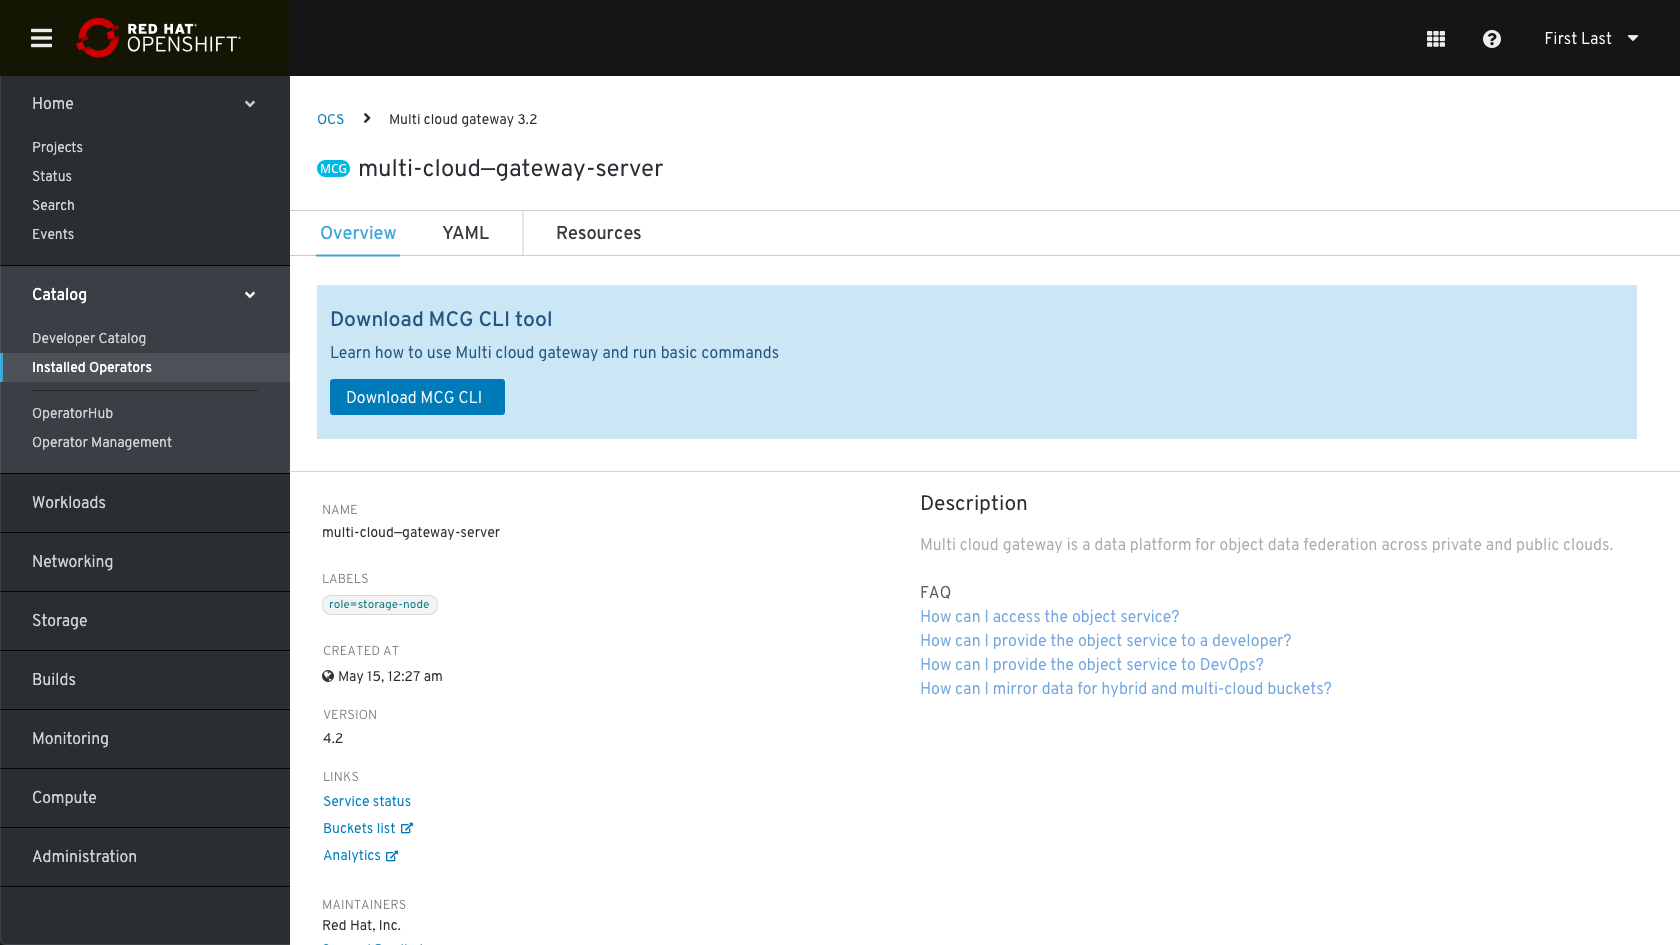
- Clicking on the “OCS-service-1” name will take you to the details:
