Annotations
Design
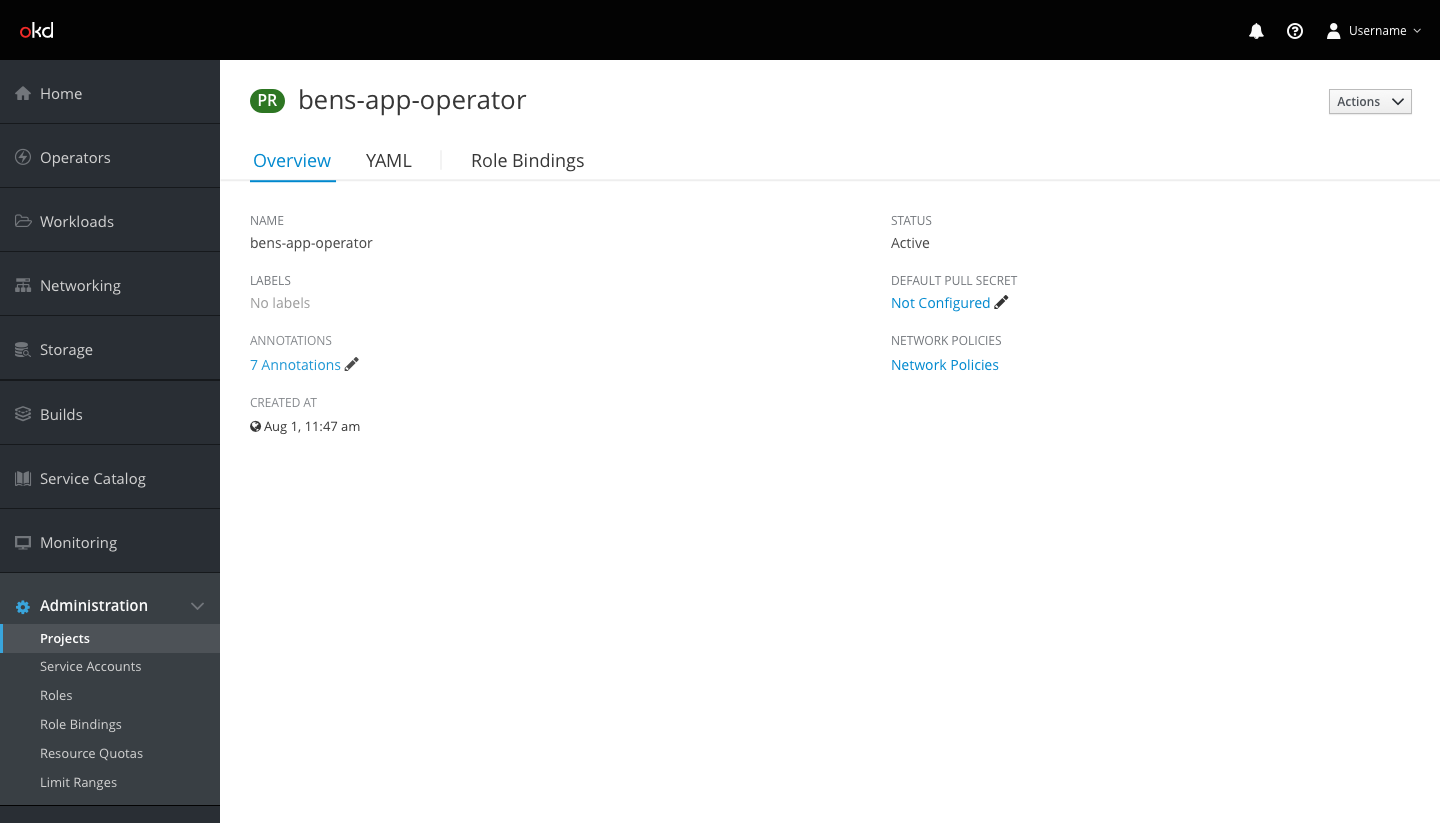
- Annotations will appear on the details pages for all workloads and projects.
- Users can edit a resource’s annotations by clicking the Annotations link (pf-blue-400, #0088CE) or the black pencil icon (pf-black, #030303; pficon-edit) next to it.
- Users can also select
Edit Annotationsfrom the actions dropdown. - Both actions will open a modal where users may add, remove, and edit annotations.
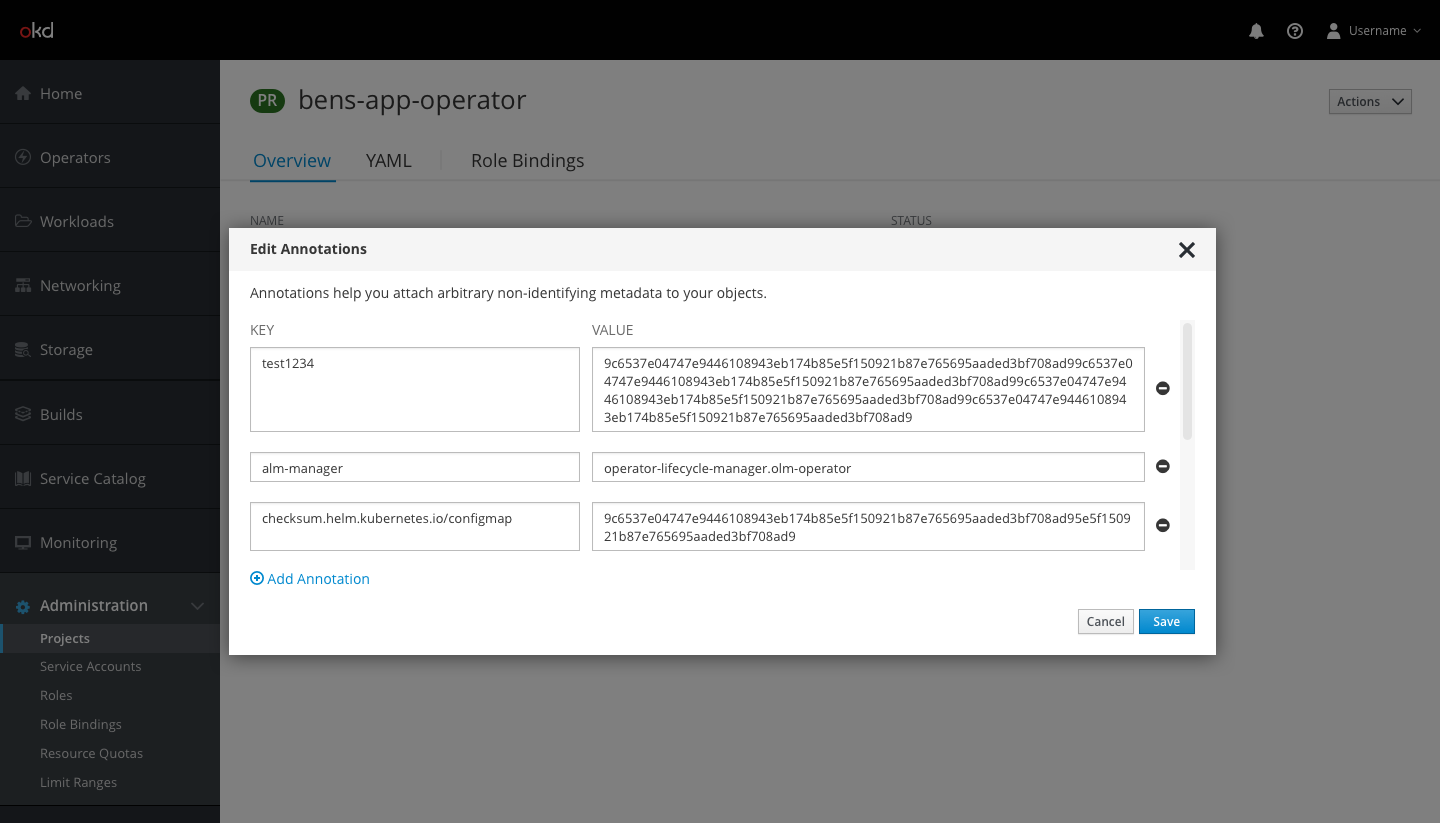
- The Edit Annotations modal will allow users to view, edit, and remove their current annotations, and add new annotations.
- At the top of the modal there will be a line of help text.
- A single annotation will be one row, separated into
KEYandVALUEfields.- The
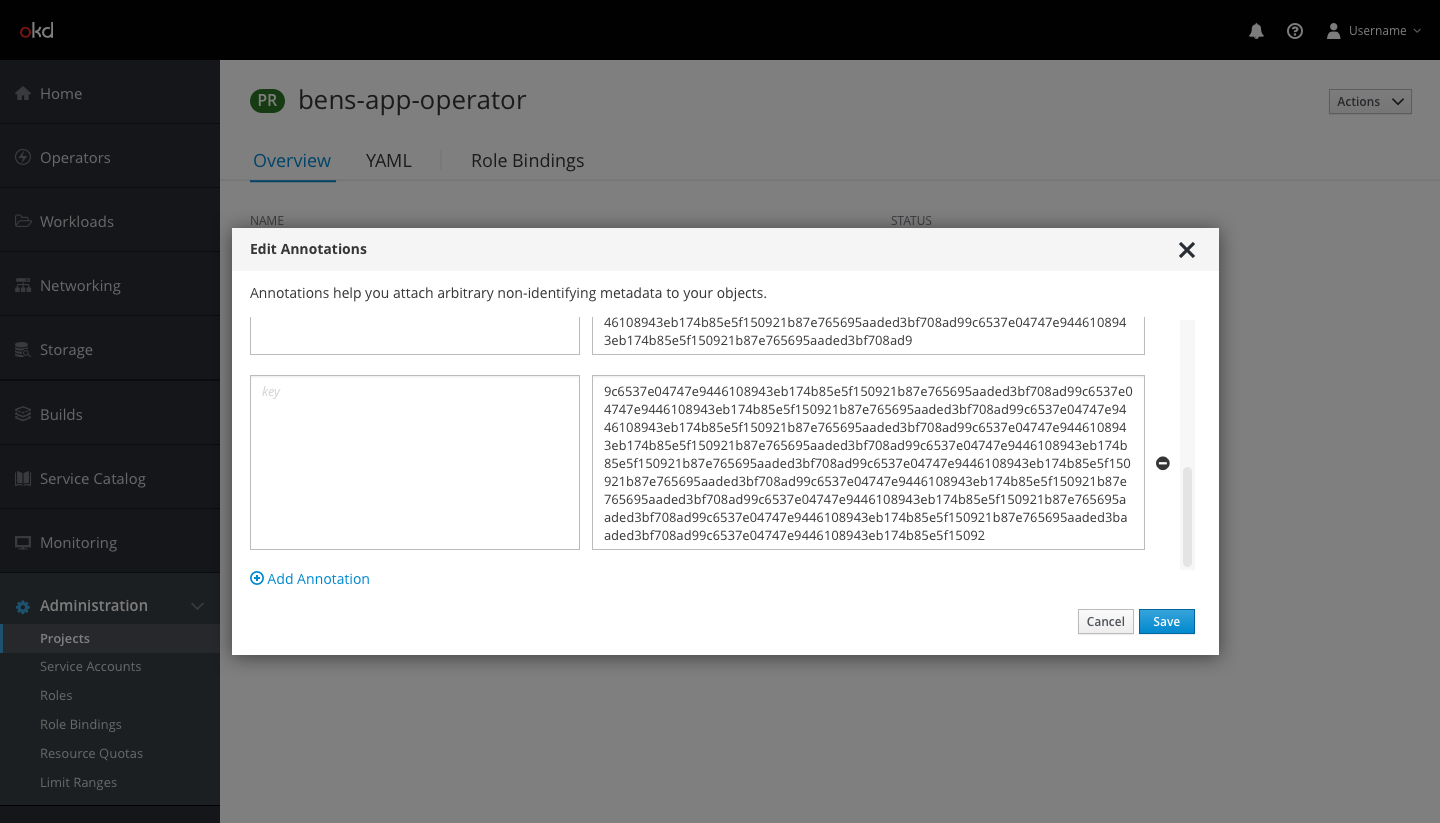
KEYinput fields will be shorter in length than theVALUEinput fields. - The input fields will expand vertically as users type in order to show the entire string of characters. Both the
KEYandVALUEfields in a row will expand together so they are always the same height.
- The
- Users may add an annotation by clicking the
Add Annotationlink (pf-blue-400, #0088CE). This will add another row of input fields for a new annotation. New input fields will have help text that indicate to the user whether they should input a key or value in the field. - Users may remove an annotation by clicking the black minus icon (pf-black, #030303; fa-minus-circle) to the right of any row.
- A vertical scroll bar will appear on the right side if there are more annotations than fit in the modal window at one time.
- Note: The
Add Annotationlink and the help text will not scroll.
- Note: The
- Users can click Save to save their edits, or click Cancel or the ‘x’ in the top right of the modal to close it without saving changes.
- The “ANNOTATIONS” section on the details page will update to reflect the number of annotations for that object.